Hey friends! It’s construction2style back today with another fun tutorial for ya guys. Ok, this DIY project isn’t probably anyone’s favorite but I do have to admit- I find a lot of joy in scraping ceilings. It’s weird I know. It’s almost as much fun as peeling wallpaper. You know that joy you get after you get a very large chunk to pull off at once? Awwwwe- the best. Well with scraping popcorn ceilings, it’s just as thrilling if not more!
A lot of people aren’t even sure what popcorn ceilings are. But I’m sure all of you Remodelaholics know. If not… to me they are just dust collectors. Nothing dates a home like popcorn ceilings. This type of textured is sprayed on plaster, creating the look of cottage cheese all over your ceilings. Popcorn ceilings were popular in the 50’s- 80’s and now more and more homeowners are scraping them down and adding their own knockdown ceiling texture.

Just for hiring out scraping popcorn ceilings alone runs along $1-2 per square foot. And that is just the scraping. That doesn’t include spraying the knockdown and painting. So to help save a ton of money we’re going to show you today how to apply knockdown ceiling texture. I’ll admit- in the first investment home we had we hired it out, we were a little bit nervous about what damage we’d do. But within our 2nd renovation home, we took on the challenge ourselves and sprayed the entire house and we loved it 100x more.
So today we want to share with you how we applied knockdown texture throughout our entire home and how you can too in 5 simple steps.
How to Apply Knockdown Ceiling Texture
by Jamie and Morgan from construction2style
First things first, your materials…
MATERIALS
- Plastic sheeting to cover walls and flooring
- Masking Tape
- Paddle Mixer
- Drill
- Pre-Mixed Joint Compound OR 5-gallon bucket & All-Purpose Drywall compound
- Hopper gun – (ceiling sprayer)
- Compressor
- Knock-Down Knife
Step 1. PREP
Proper prep is the first step to any DIY project. You’ll want to move or cover all furniture in the rooms you are going to apply the knock-down texture to. Use a large piece of plastic to cover the entire floor, taping the sides to the walls or trim. Be sure that all surfaces are clean and covered before you start any work. Once the floor is covered and taped, apply the sheeting to all the walls overlapping the sheet from the floor to ensure full coverage.

Step 2. MIX YOUR PRODUCT
Fill your 5-gallon bucket half full with the all purpose drywall compound. Attach your paddle mixer to your drill and add two cups of water to the compound. Place the paddle mixer into the mixture and slowly begin mixing your dry-wall. Stir continuously until the mixture is thoroughly blended, adding more water as you go until the consistency resembles that of thin pancake batter.

If you want to simplify your project and concerned about getting the right consistency, you can purchase a premixed all-purpose joint compound. You can find a premixed bucket of about 60lbs of “mud” at most home stores for about $10. We recommend buying two buckets to start to make sure you don’t run out halfway through your project.

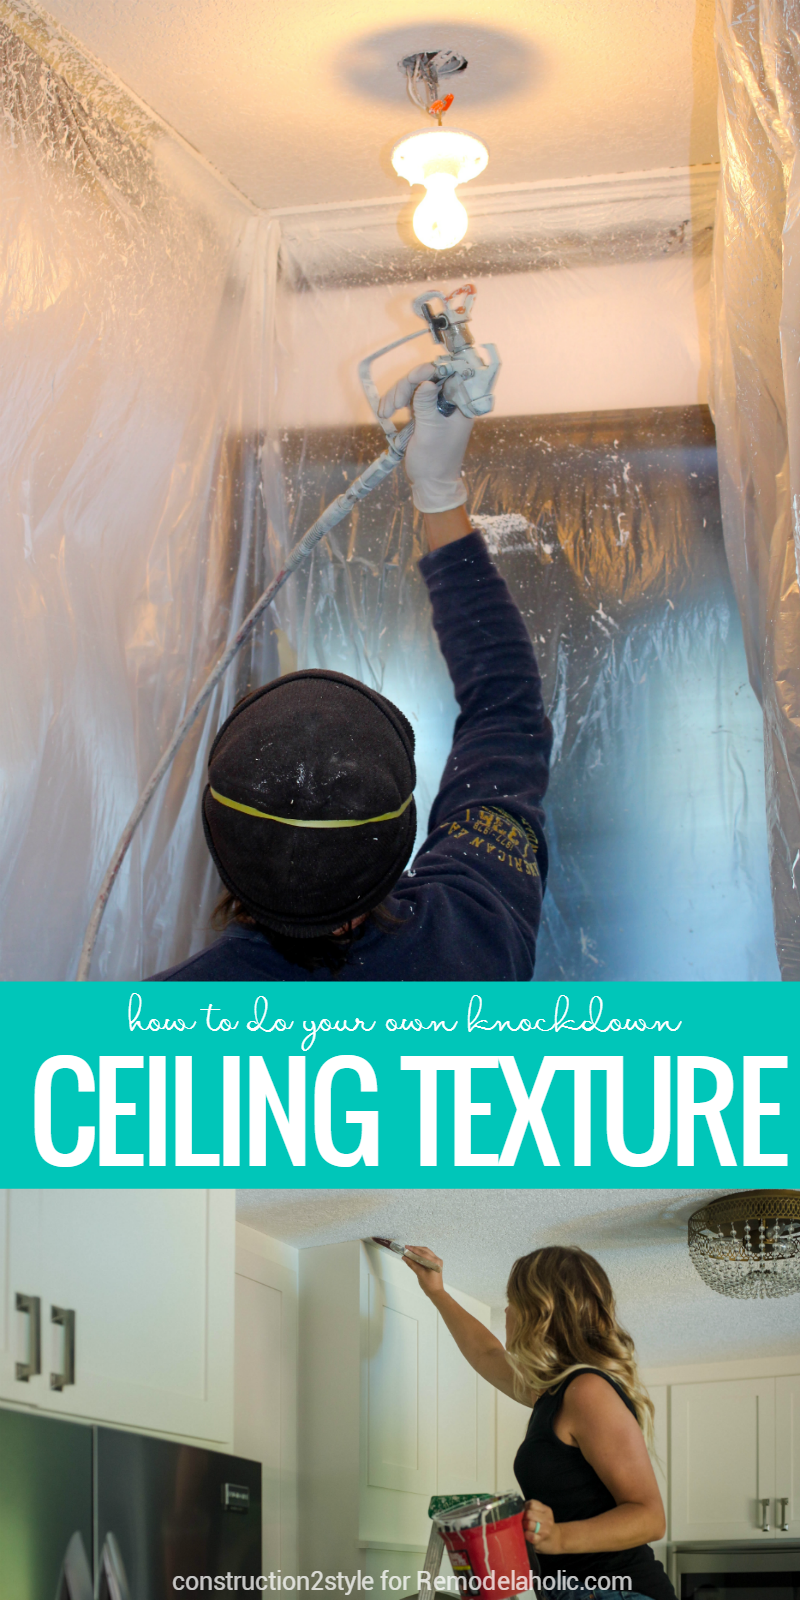
Step 3. LET IT FLY
Once your drywall product reaches your desired consistency, fill your spray gun with the mixture and set it to the orange-peel or fine particle texture. Unless you do a lot of painting, you most likely do not own a spray gun, but you can easily rent one from a paint store or rental company for about $25-$30 a day.

Before you begin spraying your ceiling directly, be sure to test the spray on a scrap piece of wood or plank. Start with your gun set to the highest amount of air pressure and if the mix comes out too thin when you test it, decrease the setting and test it again until your spray resembles the texture of an orange peel.

When you have finished testing your consistency and are ready to start spraying your ceiling, hold the gun about three feet from the ceiling and begin spraying side-to-side with long even strokes one layer at a time covering the whole ceiling. Allow first coat to dry for at least 8 hours before you apply your second coat. Once your first coat is completely dry, you want to add larger chunks of the mixture to enhance the texture.

Repeat the same process as the first coat, this time with the sprayer set to a higher setting creating those larger pieces and holding the gun about a foot further away from the ceiling. Again, cover the entire space with long, even strokes across. Scan over the areas and apply more mixture where you see needed to fill in the gaps or uneven spaces. Let sit for fifteen minutes.
Step 4. SCRAPE
The final step to completing your DIY knock-down ceiling project is to the scrape across the textured compound with a knockdown knife. You want to be sure that you are just flattening the texture and not completely removing it. This is controlled by the amount of pressure you place on the knife as you pull over the ceiling. The knife smooths out the textured peaks, creating a random, maze design. Once all of the peaks, and large mounds are smooth and flattened across the entire ceiling, allow the space to dry for at least 48 hours before you begin painting.
Step 5. PAINT
Spray vs. rolling is always the big question. Either way- make sure you’re wearing old clothing and your floors are covered, because it’s going to get even more messy. Painting overhead leaves you covered from head to toe. If your home isn’t full on construction mode, I would suggest rolling. We are fans of rolling. The more we spray the more we end up having to go back to fix and repaint. When you’re rolling your literally up there looking at all the details, so we’ve quickly realized this is just the better option for us.

Using a paint sprayer covers a lot quicker, which also makes you go through more paint. If you don’t own a paint gun, you can always rent one from your local hardware store. We have always been fans of rolling our ceilings. Using a sprayer, multiple light coats are better than one heavy spray.
If you’re going the rolling route, I would strongly suggest getting an extension pole for your paint roller. One of us usually cuts in along the edges while the other comes behind and rolls. We also always buy the paint that has the primer within. Because trust us- when your done with your first coat your neck is going to hate you if you have to do it all over again. haha!
And regardless make sure you are wearing a mask! Those paint fumes can be dangerous. Jamie has been known to throw up in the past.

There you have it! Our guide to knockdown textured ceilings. We can’t wait to see your projects. Make sure to tag us at @remodelaholic and @construction2style so we can give ya some love. Happy Renovating!
More beautiful ways to update a ceiling:


beadboard ceiling to replace basement drop ceiling

easy install diy ceiling coverup

The post How To Apply Knockdown Ceiling Texture appeared first on Remodelaholic.
No comments:
Post a Comment